Example datasets
QMaxent ships a one-click downloader for two canonical SDM example datasets, accessed from Plugins → QMaxent → Download Example Dataset. They are the same datasets the broader Maxent literature has used for almost two decades, which means you can compare your results directly with published benchmarks.
Opening the dialog
Choose Plugins → QMaxent → Download Example Dataset.
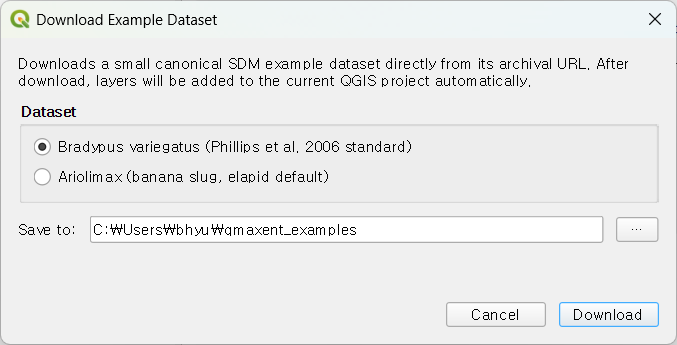
Two datasets are offered. Pick one of the radio buttons, choose where to
save the files (the default is a qmaxent_examples folder under your
home directory), and click Download. The plugin fetches the data,
unpacks it, and automatically adds the layers to your current QGIS
project so you can start modeling right away.
Bradypus variegatus dataset
The brown-throated three-toed sloth. This is the canonical Maxent test dataset published with Phillips, Anderson & Schapire (2006) and reused in virtually every subsequent Maxent paper.
| Layer | Description |
|---|---|
bradypus.shp |
116 presence points across South and Central America |
bio1, bio5, bio6, bio7, bio8, bio12, bio16, bio17 |
WorldClim bioclimatic variables (continuous) |
biome |
Biome classification (categorical) |
After download the layers appear immediately in the QGIS canvas:
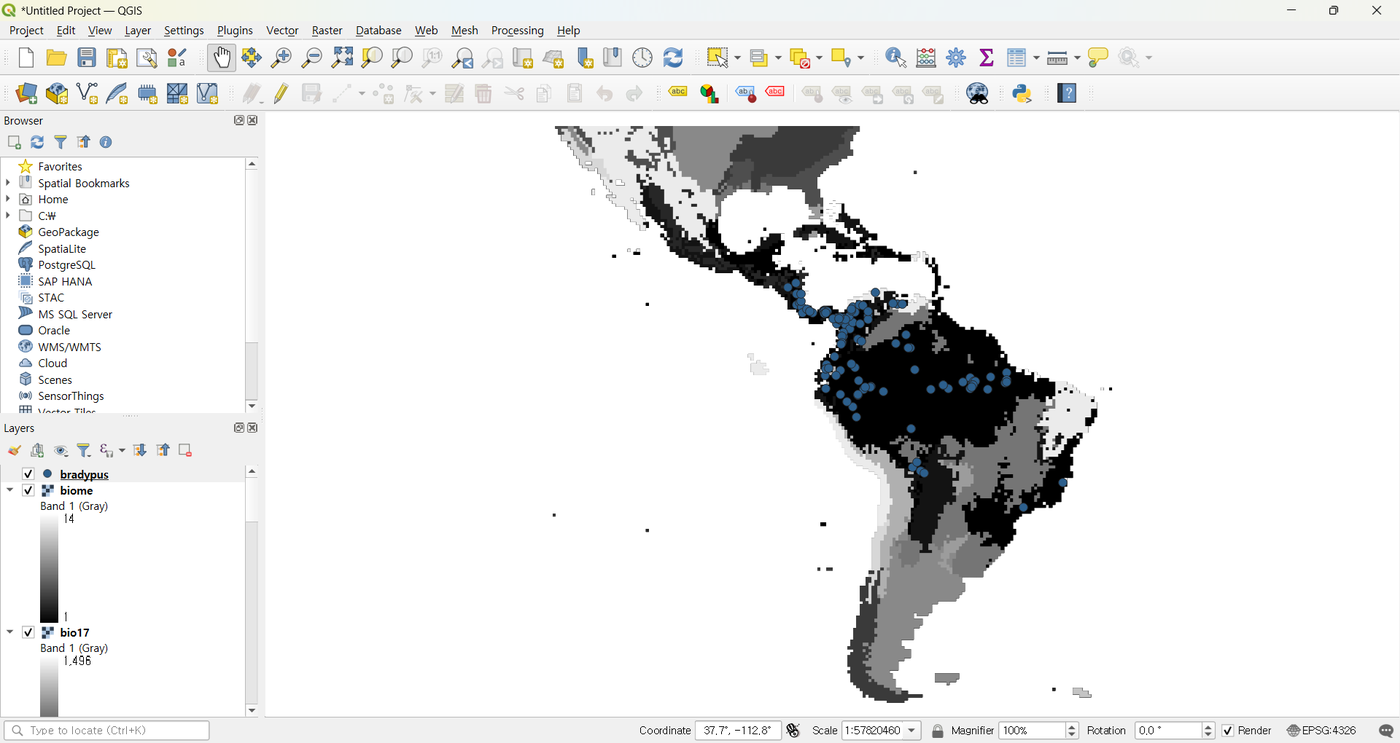
The dataset is small (well under 100 MB) and the resulting Maxent runs typically finish in under 30 seconds, so it is ideal for first runs and for working through this manual.
Ariolimax dataset
The Pacific banana slug. This is the default test dataset that ships with elapid.
About the Ariolimax download vs the Ariolimax worked example
The official Ariolimax download is already harmonised — all six rasters share a common CRS, extent, and resolution out of the box. So when you load it, Check Raster Consistency will pass immediately and you will not see the mismatch problem the Ariolimax worked example walks through.
The worked example uses a deliberately desynchronised version of the same data — the author intentionally reprojected and resampled some rasters to mimic the silent-failure scenario that SDM users frequently encounter in real fieldwork. If you want to follow that example exactly, work from the desynchronised dataset described in the example chapter; the bundled download will not exhibit the mismatch.
Save location and project structure
Whichever dataset you choose, the downloader creates a sub-folder named after the species:
text
qmaxent_examples/
├── bradypus/
│   ├── bradypus.shp     (and .dbf, .shx, .prj, .cpg)
│   ├── bio1.tif         …
│   └── biome.tif
└── ariolimax/
    ├── ariolimax.shp
    └── …
Re-running the dialog with the same Save-to path overwrites previously downloaded files, so it is safe to use as a "reset to defaults" button if you want to start a tutorial cleanly.
Loading the layers manually
The plugin auto-adds layers, but if you ever need to reload them by hand,
just drag the .shp and .tif files from QGIS's Browser panel into
the Layers panel — exactly as you would for any other dataset.
Where the data comes from
Both datasets are pulled from their canonical archival URLs at download
time; QMaxent does not ship them inside the plugin itself. This keeps
the plugin package small and ensures you always get the upstream-canonical
version. If you need offline access, run the downloader once on a
connected machine and copy the qmaxent_examples folder onto offline
workstations.