① Data tab
The Data tab is where you tell QMaxent which species you are modeling and which environmental variables to use. Three controls deserve attention: the presence-points selector, the environmental-raster list with its Check Raster Consistency action, and the background-points sample size.
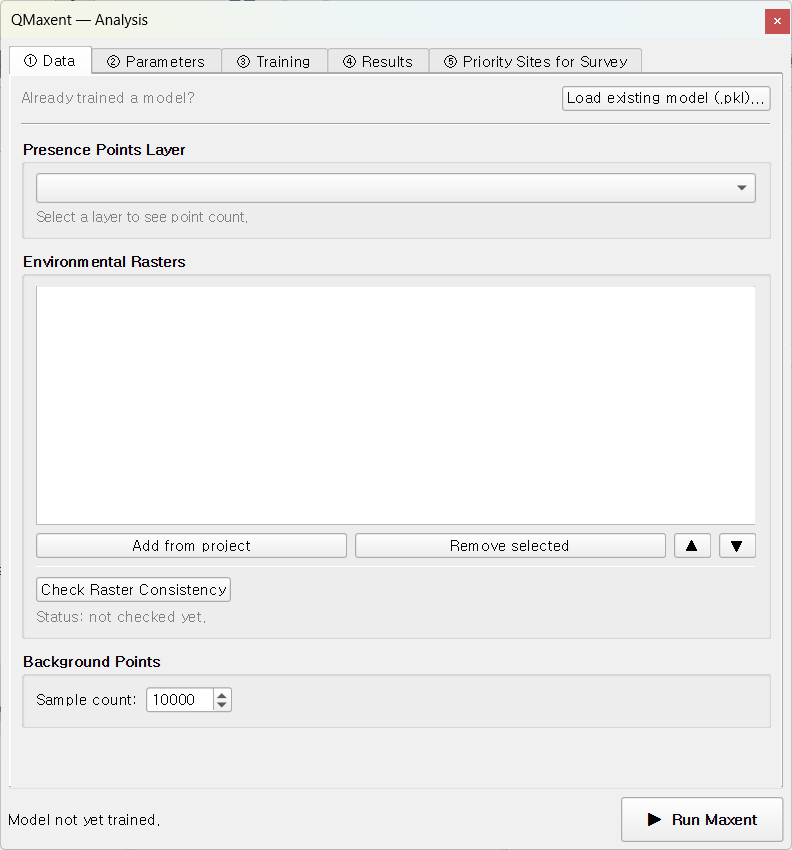
Presence Points Layer
The first drop-down lists every loaded vector point layer in the current
QGIS project. Pick the layer that contains your species occurrence records.
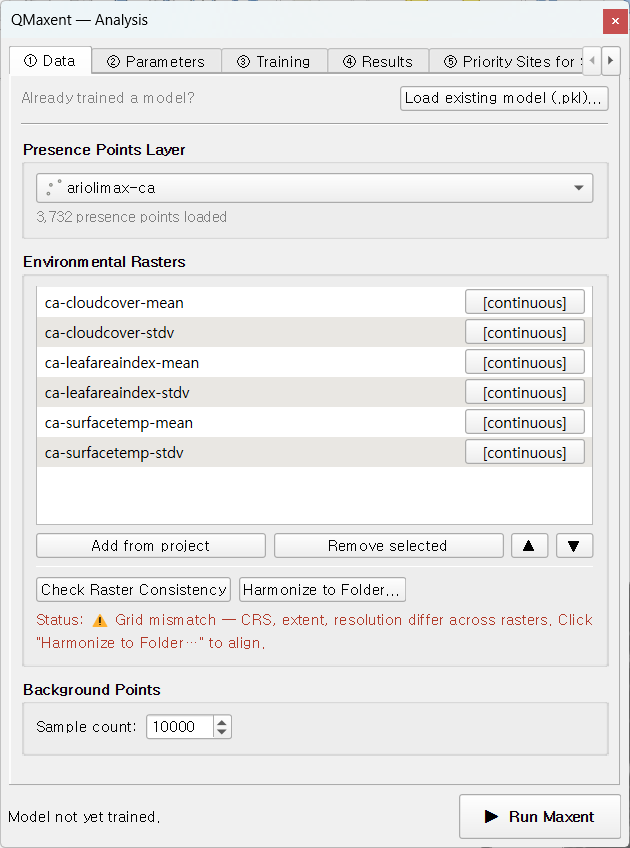
QMaxent reads the geometry and reports the count beside the selector
(e.g. 116 presence points loaded).
Tips for preparing this layer:
- Geometry must be
PointorMultiPoint. Lines and polygons must be converted to centroids first via Vector → Geometry Tools → Centroids…. - CRS can be anything — QMaxent reprojects on the fly to match the raster grid. That said, a projected CRS that matches the rasters avoids a mid-run reprojection step.
- Duplicates and clustering are tolerated but distort the model. Boria et al. 2014 recommend spatial thinning before modeling; consider running QGIS plugin NNJoin or the standalone tool spThin before using QMaxent.
Environmental rasters
Two buttons populate the raster list:
- Add from project — adds every raster layer currently loaded in the QGIS project. The fastest way to start.
- Add from file… — opens a multi-select file dialog. Use this if you want to keep the rasters off the QGIS canvas while still using them for modeling.
Each row in the raster list shows the file name and a [continuous] /
[categorical] tag. Categorical detection is automatic when the file
carries a PAM (.aux.xml) sidecar with the metadata key
LAYER_TYPE=thematic. Without that tag, you can manually toggle a row to
categorical by right-clicking it.
Why categorical handling matters
Treating a categorical raster (e.g. biome, land-cover class) as
continuous is one of the most common silent failures in operational
SDM. Maxent will average across class codes as if they were ordinal,
producing biologically meaningless responses. Always verify the
[categorical] tag on integer-coded landscape rasters before training.
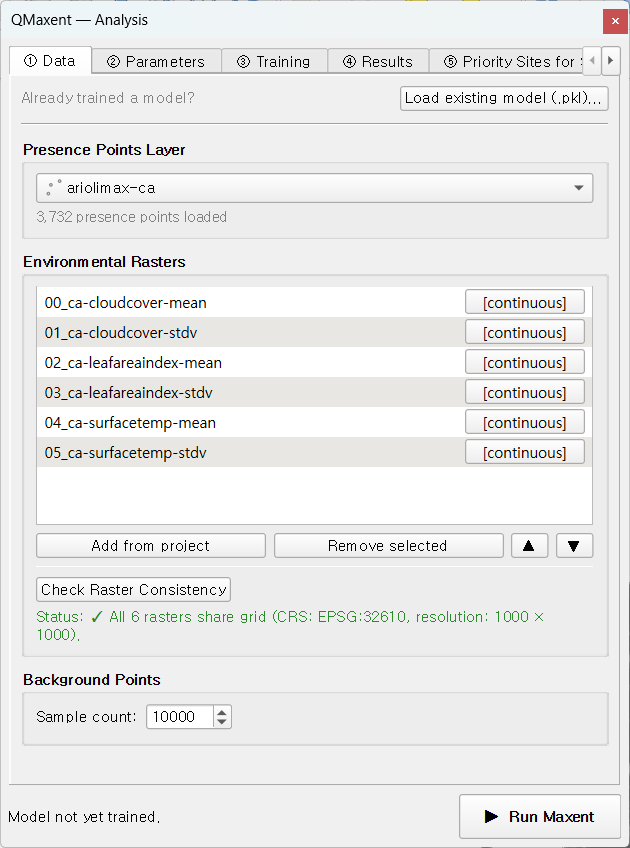
Check Raster Consistency
This button runs the most important pre-flight check in the dock: do all rasters share the same CRS, extent, and resolution?
- ✓ Pass (green): the stack is grid-aligned and ready to model.
- ⚠ Mismatch (amber): one or more rasters disagree.
When it fails, a second button — Harmonize to Folder… — appears. Clicking it lets you nominate an output directory; QMaxent reprojects every raster to the highest-resolution one in the stack (nearest-neighbour for categoricals, bilinear for continuous variables) and re-loads the harmonised set. The Ariolimax worked example walks through this in detail.
Background points
Maxent is a presence-background algorithm (Phillips et al. 2006; Fithian & Hastie 2013) — it contrasts presence locations against a background sample drawn from the rest of the study area. The default background sample is 10,000 points drawn uniformly across the union of all raster extents, the value Phillips & Dudík 2008 recommend for typical continental- to landscape-scale studies.
You can override it in the Background points field. Smaller values are appropriate only for very small study areas (<10,000 cells); larger values rarely help and slow the run.
The Add presences to background checkbox is on by default — this is the convention the original Java MaxEnt applies and is required for the Maxent likelihood to be well-defined (Phillips & Dudík 2008).
Load existing model (.pkl)…
The bottom of the tab has a Load existing model (.pkl)… button for
re-using a previously trained model on new rasters. Picking a .pkl opens
a variable-mapping dialog so you can re-state which raster maps to which
saved variable name — a safeguard against silent ordering errors when
collaborators use different file names. See
Saving and reusing models for the full workflow and
the security note on Python pickle files.
Status line
The bottom of the dock shows a one-line summary:
presence=N background=M train AUC=… CV AUC=…. The AUC fields populate
after the ③ Training tab finishes a run — they let you tell at a
glance whether the dock state matches the most recent training.